CNC Datums - G10, G53 and G54
The above video lesson is part of my G-Code tutorials that I recorded with Practical Machinist. More can be found here
Before we start running our program we have to tell the machine where the material is, and where we wish the origin of our dimensions to be. Datums can be set within the machine controls or be set by a command line in our program using the G10 command. Once this position is set we can shift our datums by using the G54 to G59 G-Codes. Below is an explanation of how these codes work.
G10 - Setting the datum
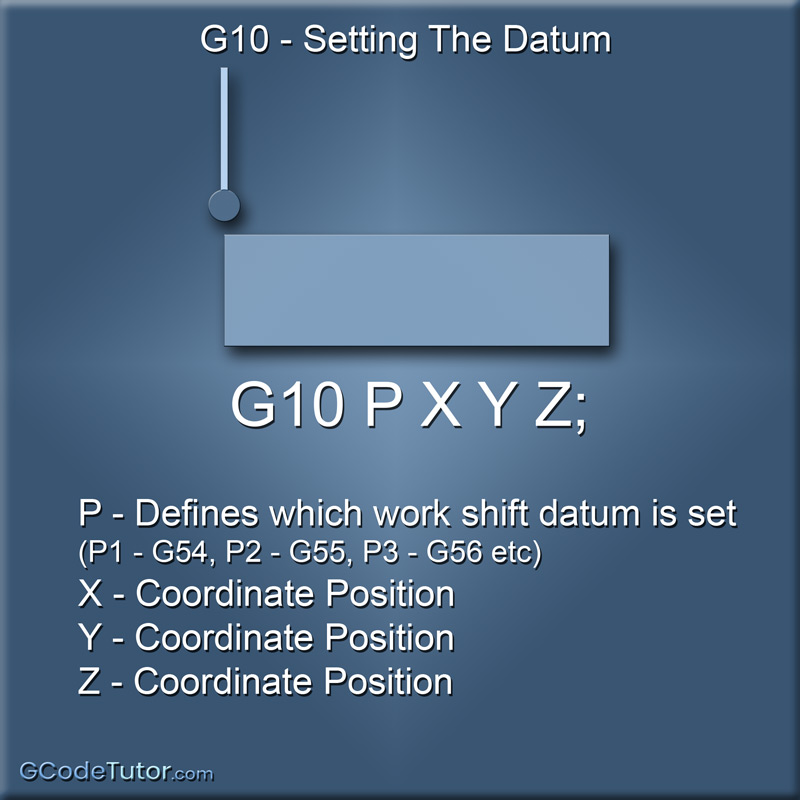
G10 P X Y Z;
Example:
G10 P1 X100.0 Y200.0 Z50.0;
The G10 command is used to tell the machine the distance to the work datum position from the machine datum.
The 'P' word defines the working datum this position refers to and is listed below.
The X, Y and Z positions give the distance from the machine datum (Machine zero point) to the working datum defined by the 'P' word. This enables us to set multiple datums within the program. A typical use for this would be to set the vice operation as one datum and a second operation that uses a fixture as a separate datum. On a Lathe this can be used to set the datums for both the main spindle and the sub spindle.
G53 - Machine datum
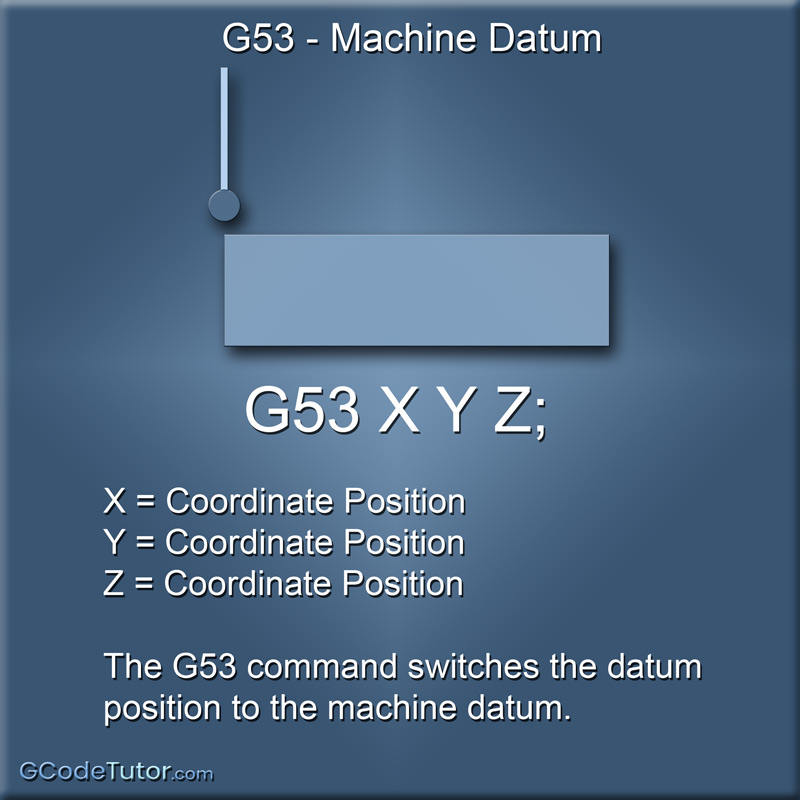
G53 X Y Z;
The G53 command switches the datum origin to that of the machine datum. This position is rarely changed (See G92 below)and is often the same position as the tool change position, but not always.
A typical use would be to send the spindle to the home position. The line G53 X0.0 Y0.0 Z0.0; would do exactly this.
Work Offsets
G54, G55, G56, G57, G58 and G59
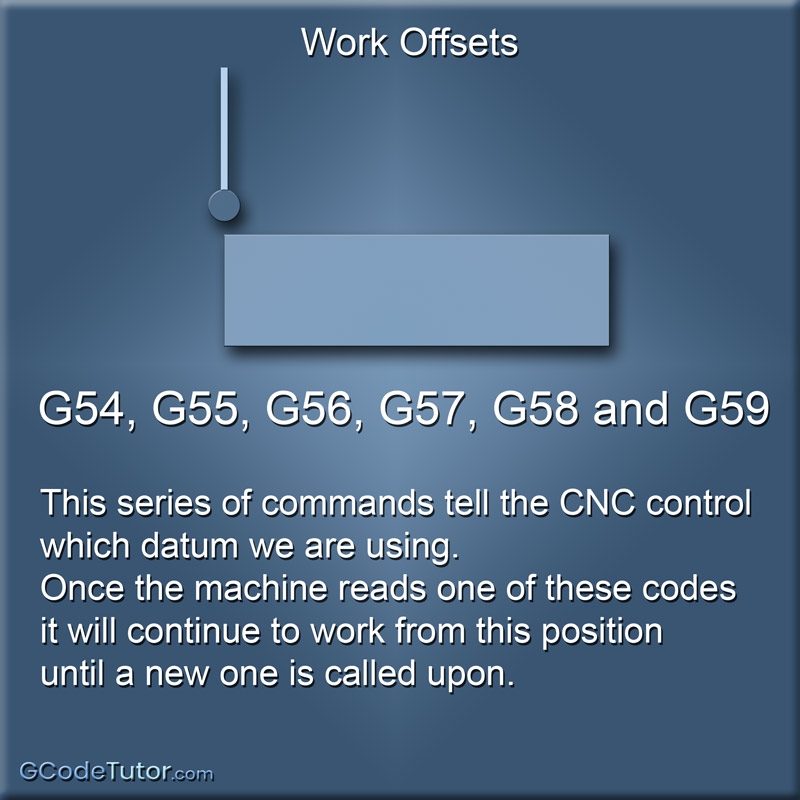
G54, G55, G56, G57, G58 and G59 are datum shift G-Codes. This series of commands tell the CNC control which datum we are using. Once the machine reads one of these codes it will continue to work from this position until a new one is called upon.
If we set the G10 to P1 the machine would use the position set by the G10 command as the zero position used by the G54 datum. (P1 = G54). From the line of the program that stated 'G54' all dimensions would have a new point of origin. This can also be set using the machine controls instead of using a G10 line. This enables us to touch on or probe the working datum position if the datum changes each time the part is set up. For example, if we load a vice to the machine each time it is set up, the datum would be in a different position as the vice would be in a different position.
The G-Codes G55, G56, G57, G58 and G59 are all used as extra datum positions and are set separately. If that's not enough datums we can extend this further by using G55.1, G55.2 etc to give us more than enough options for even the most complex parts.
G92 - Moving the machine datum
This is seldom used and hardly ever needed or recommended
The G92 G-Code is a dangerous one. It is used to redefine the machine home position and give it a new point of origin in the 3D environment inside the machine.
A much better practice if this position needs to be changed in an industrial setting is to perform a grid shift using the parameter settings and is usually carried out by a qualified maintenance personnal or by the machine manufactures.
Some hobby level CNC machines may not have datum shifts available and owners and operators of these desktop machines may need to use G92 to move their datum. Absolute caution must be used if changing the machine origin point and a good understanding of how this works and how to reset it back to the original setting is essential.
Share this article
For a complete tutorial on CNC mill Programming check out my course.
The quickest way to learn CNC Programming
